Starting Ghost matter
Ghost Matter gives you a dedicated node editor to mix materials the easy way — plus a toolbox of nodes for the tasks you'd normally fight the Shader Editor for. This page walks you through opening the workspace and building your first mixed material: pick materials, stack masks, and use the tools.
Quick overview

Step by step
There are 3 ways to open the Ghost Matter workspace:
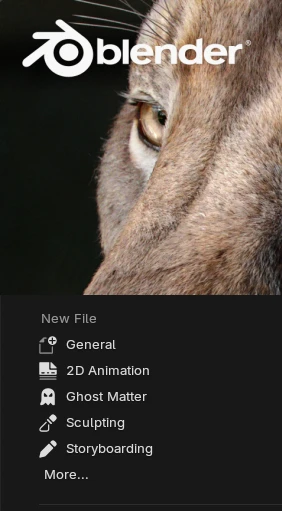
1- From the splash screen, choose Ghost Matter layout
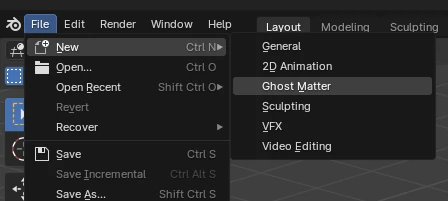
2- Create a new file, choose Ghost Matter layout
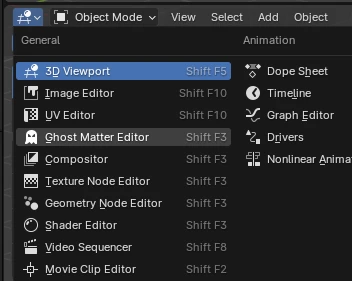
3- From the viewport, choose Ghost Matter window

Select a mesh, then click the START button in the node editor. The default Ghost Matter tree is created.
Materials
Customise or replace the input materials — duplicate any node with Shift-D. You can also pick a material from the Asset Browser and use Import to Scene to load it without assigning it to any object; it then becomes available as a choice in the Material Input node.
To edit a material, double-click its preview thumbnail. To go back to the Ghost Matter tree, double-click the material's node-tree background.

Masks
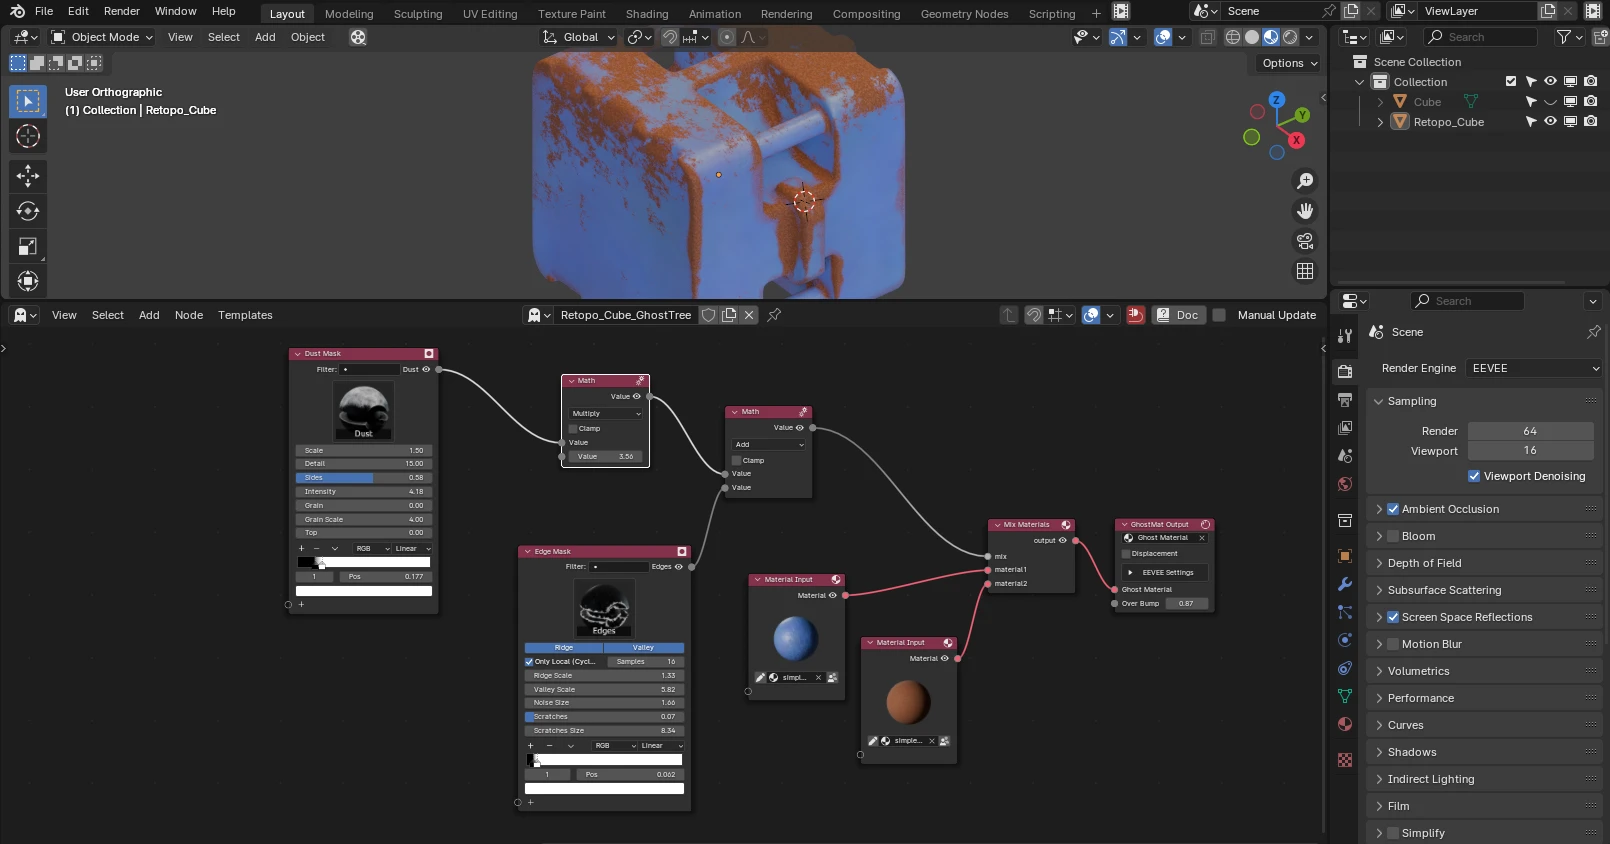
Press Shift-A to add any node — a smart mask, for example. Click the eye icon on a node's output to preview it. Plug the mask output into a Mix Materials node to use it as the mix factor, then click that node's eye icon to see the result. You can keep tweaking the mask values live.

Masks, textures and images can be chained directly — no Mix or Math node needed. Each mask has its own input socket and mix mode, so you stack them easily while keeping the tree simple and clear.

You can still use a Math node for mixing if you prefer.
Tools
In the 3D viewport's Tools tab, select your object and click Paint Color Attribute — the viewport switches to Vertex Paint automatically. Click Back to finish. A color attribute is created, and you can access it from the Ghost Matter editor.
